A quiet gallery for planning rooms around the people you love

Swedens Seniors collects room-by-room photographs, measured floor sketches and short material notes for families arranging a home for an older relative.

Every entry is written to be read at a kitchen table, not in a showroom. Captions explain where a grab rail sits, why a doorway was widened, how a non-slip floor was chosen and what light level works in a hallway after dark. You can browse by room, by budget band or by the mobility need you are actually planning for, then keep the ideas you like on a shared board and talk them through at home.

Contributors include interior stylists, occupational therapists and family caregivers working with households in Johannesburg, Cape Town and Durban. If you want to know how the collection is put together, start with our approach to documenting each room, or read more about who contributes to the gallery.

Swedens Seniors: intro focus

How the gallery works, and what to bring to the table

Swedens Seniors is a reference collection, not a service you book. You look, you compare, and you take what fits into the conversation you are already having at home.

Start with the room, not the catalogue

Most families arrive with one room in mind, usually the bathroom or the bedroom. Begin there. Each room set shows the layout, the measured sketch and the material notes side by side, so you can see why a rail sits at a certain height or why a doorway was widened.

Measure before you decide

A tape measure and a phone photo of the room go a long way. Note the doorway width, the floor surface, where the light falls in the evening and how much clear space sits beside the bed or the shower. Those four details shape almost every choice that follows.

Read the captions closely

The short notes under each photograph are the useful part. They explain grab-rail placement, non-slip flooring choices, lighting levels and doorway clearances in plain terms, without turning the room into a clinic.

Filter by what actually limits you

Browsing by mobility need is often more helpful than browsing by style. A walking frame, a wheelchair, low vision or general comfort and safety each pull up different rooms, because the clearances and the fixtures are not the same.

Keep the ideas in one place

Save the rooms you keep returning to onto a shared board, so siblings and relatives can look at the same set instead of describing it over the phone. It is a working list for a family conversation, not a wishlist.

Plan for the room you have

Not every idea suits every house. A level shower may need plumbing work, a lowered counter may not fit the existing run. Treat each set as a starting point, then check what your own walls, floors and budget can carry.

Who puts the collection together

Interior stylists, occupational therapists and family caregivers around Johannesburg, Cape Town and Durban contribute the room sets. Their notes are practical rather than promotional, and the gallery stays a reference resource. If you would rather work from paper, you can ask for a printed catalogue to spread out at the kitchen table.

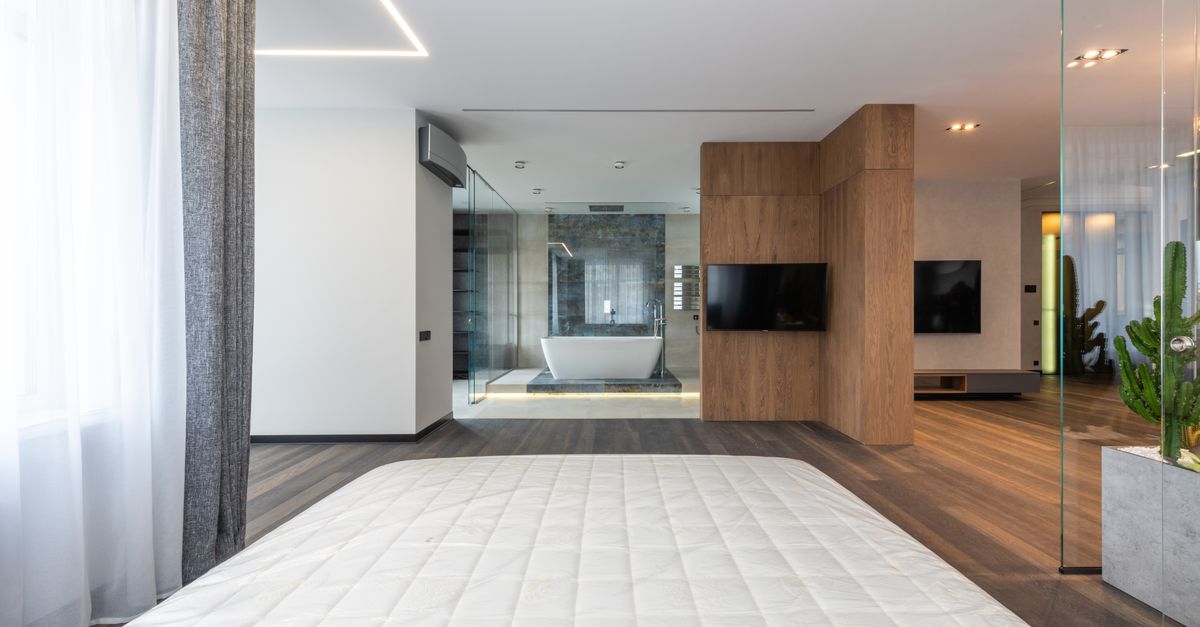
What you can browse in the gallery

The collection is organised so a family can move from a general idea to a specific decision. Each room set carries photographs, a measured floor sketch and short notes on the details that are easy to miss: where a grab rail actually lands under the hand, how wide a doorway needs to stay, which flooring holds up when it gets wet, and how much light a corner receives in the afternoon. Nothing here is a clinical assessment or a product listing. It is reference material you can print, mark up and take into a conversation with a builder, an occupational therapist or the rest of the family.

Contributors include interior stylists, occupational therapists and family caregivers working around Johannesburg, Cape Town and Durban, so the examples reflect real South African homes rather than showroom conditions.

Room-by-room sets

Bedroom, bathroom, living room, kitchen, hallway and entry. Each set works from the fixed elements outward, so you can see how a bed, a shower or a counter changes the space left for walking, turning and parking a frame.

Open the room sets

Measured sketches

Hand-annotated plans sit beside the photographs, marking clearances, rail heights and reach distances. Useful when you need to explain a change to someone who has not stood in the room.

How the notes are made

Mobility and comfort

Browse by walking aid, wheelchair access, low vision support or general comfort and safety. The same room can appear in more than one view, because the useful change often depends on how someone moves through the day.

Read family notes

Materials and surfaces

Notes on non-slip flooring, matte finishes, low-pile rugs and underlay, plus the lighting levels that keep a passage bright without glare. Practical detail rather than a specification sheet.

See the material notes
Swedens Seniors: service list

Planning a specific room? Send the details through the contact page and we can point you to the closest matching set, or read more about the people behind the collection.

How the gallery works, from first look to a plan on the table

No account, no booking, no sales call. You read the rooms, save what fits your family, and take it from there at your own pace.

  1. Step 1

    Start with the room that worries you

    Most families begin with the bathroom or the bedroom. Pick one room rather than the whole house, and read the captions on grab-rail placement, floor texture and doorway clearance before you look at furniture.

  2. Step 2

    Narrow by mobility need

    A walking frame, a wheelchair, low vision or general comfort each change what matters. Filter the room sets against the one that describes your relative, then note the measurements that keep coming up.

  3. Step 3

    Read the sketch, not just the photo

    Each room set pairs photographs with a measured floor sketch and short material notes. The sketch is where turning circles, door swings and rail heights become clear, so give it the same attention as the image.

  4. Step 4

    Save ideas to a shared board

    Keep the rooms you want to discuss in one place instead of sending screenshots back and forth. A shared board lets siblings and your relative look at the same references before anyone starts moving furniture.

  5. Step 5

    Ask for the printed catalogue

    If the planning conversation happens at the kitchen table, a printed copy helps. Send a short request with your city and the room you are working on, and we route it to the closest contributing stylists and occupational therapists.

  6. Step 6

    Bring the notes into the room

    Take the sketch and material notes with you when you measure the actual space. Doorway widths, floor levels and where a hand naturally reaches will decide more than any single product choice.

Ways to use the gallery

Not everyone arrives with the same question. Some families are reworking one room, others are planning a whole flat before a relative moves in. Pick the route that matches where you are right now.

Single room set

One room, looked at closely. You get the photographs, the measured sketch and the material notes for that space alone, so you can compare options before anyone lifts a tool.

  • Photographs from two or three angles
  • Hand-annotated floor sketch with clearances
  • Notes on flooring, lighting and rail placement

Best when the rest of the house already works and one doorway or bathroom is the sticking point.

Browse room sets

Full home walkthrough

The whole route, room by room, from the front step to the bedroom. Useful when a relative is moving in and the sequence between rooms matters as much as any single space.

  • Entry, hallway, living room, kitchen, bathroom, bedroom
  • Doorway widths and turning circles noted at each threshold
  • Captions that explain why each change was made

Best for planning conversations at home, where several people need to see the same picture.

Read the approach

Mobility-led selection

Start from the mobility need rather than the room. Walking aid, wheelchair, low vision or general comfort, each pulls a different set of gallery items to the front.

  • Clearances sized for the aid in use
  • Rail heights and grip shapes explained
  • Contrast and lighting notes for low vision

Best when the family already knows what the daily routine looks like and wants the layout to follow it.

See family reviews

Contributors include interior stylists, occupational therapists and family caregivers, so the notes come from people who have stood in these rooms. If you would rather work from paper, ask for a printed catalogue and we will post one for your planning table.

Your privacy choices

We use a small amount of local storage to remember how you interact with this site. It helps us keep the experience consistent between visits and avoid asking the same question again. You can read the details in our privacy policy.